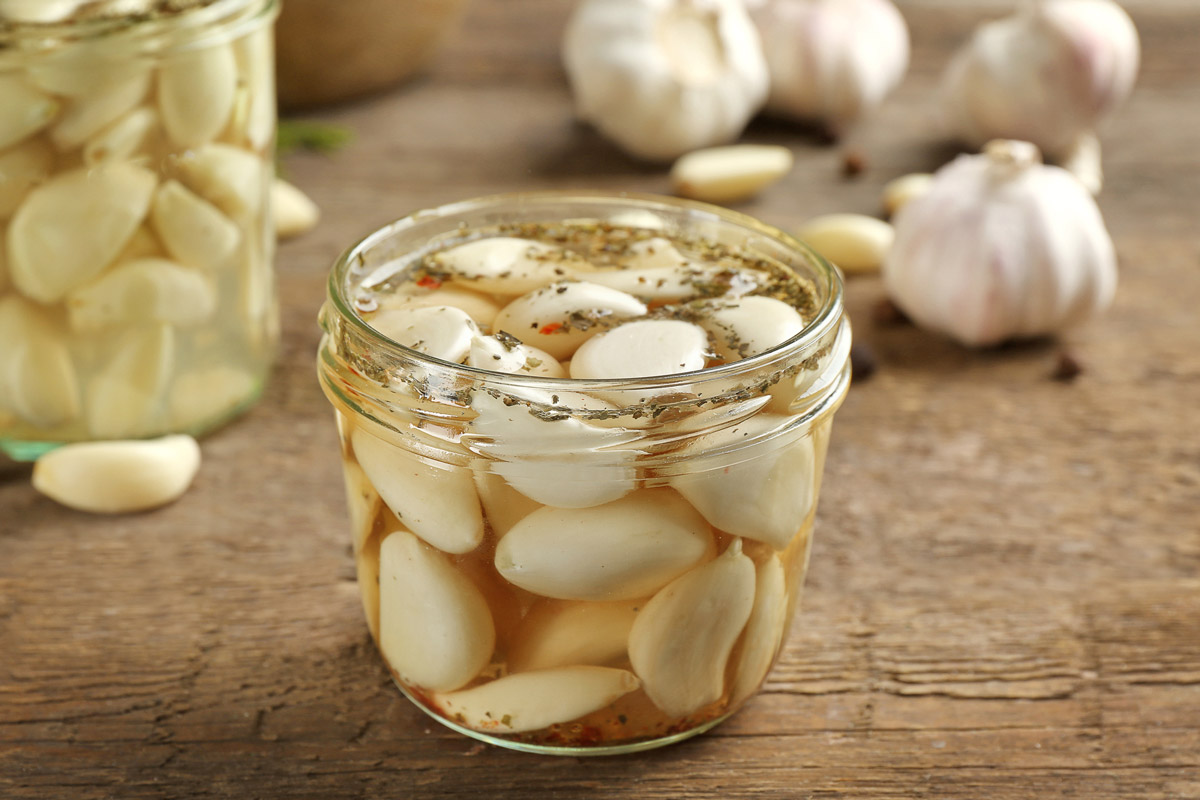
Fermented garlic: this is how it is fermented into honey
On this page, if you are interested, you can find out how you can get garlic fermented in honey .
Before starting, however, it must be said that one of the main reasons why we have started fermenting foods is to try to preserve them in the best possible conditions.
For this reason, garlic fermented in honey is really an excellent food, not only for the creation of original recipes with a delicate flavor, but also and above all for the health of our body . Our grandmothers used to consume it a lot.
Known to everyone and widely used in Italian cuisine, garlic can have a new life in this way. Although unlike honey, due to its flavor, it can acquire sweetness and complexity thanks to the fermentation work.
Clearly, it may seem strange to use honey as a “ fermentation tool ” precisely because it is always seen as an indispensable antibacterial . In fact, honey is considered an antibacterial because its natural acidity, its concentration of sugars and the low availability of water make it unassailable by any microorganism .
Fermented garlic: use honey and you won’t regret it!

Before starting, it must be noted that to develop the preservative capacity of the fermentation, it is absolutely necessary to cancel that of the honey.
Obviously there are 2 ingredients for fermentation: and they are honey and garlic . You will need a sterilized jar.
Now you have everything you need to move on to the next step.
Procedure: Instructions
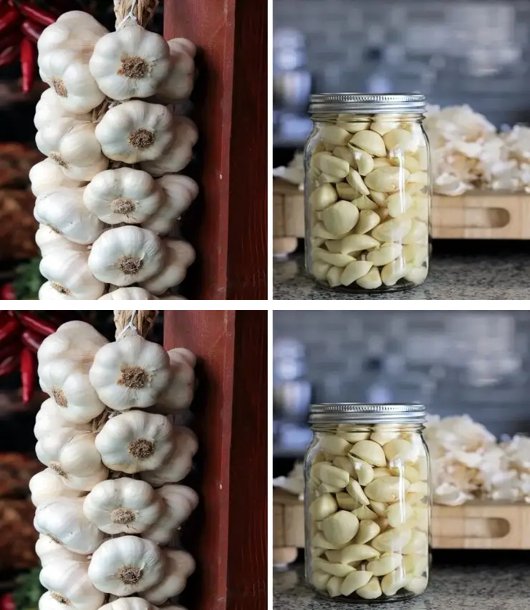
First, you need to eyeball how much garlic you will need to fill the glass jar you want to use. However, for the first time, I recommend using a jar with a capacity of 200 milliliters , which is the appropriate capacity for a medium-sized head of garlic.
At this point, peel all the garlic cloves carefully, you should not remove the ends or the central part at all. Obviously, remove the damaged parts and then place the garlic cloves obtained in your jar.
All that’s left is to pour the honey into the jar several times to allow the honey to reach the bottom of the jar and give the air time to escape.
Place the ready-to-use jar somewhere away from direct sunlight and somewhere at room temperature .
A tip: place a saucer under the jar to catch any honey stains that may appear during the first weeks.
In addition to this, you must remember that if you have sealed the jar, you must necessarily ventilate it every day until it stops accumulating gases, that is, at least for 2 or 3 weeks .
Over time, the garlic will appear darker and darker and begin to sink. You can start tasting it as soon as it stops floating. So according to the environment temperature, it will take about 4 weeks .
Good luck with your work.
Properties of fermented garlic
After fermentation, garlic is even richer in useful benefits to keep our body in good health.
Natural antibacterial properties
Very rich in essential antioxidants to prevent cellular aging
Source of phosphorus and calcium
Protects the cardiovascular system
Lowers blood pressure
Reduce the Colesterol levels in the blood


